Triangulation artifacts
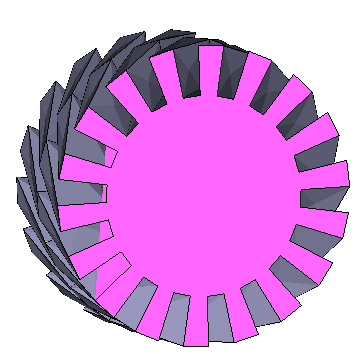
It may happen that for complex faces triangulation fails. Let's take the following example of a cog wheel which has been created using the cog script, extruded and subdivided before beeing converted to a polymesh. Closing the two end caps of the polymesh using select and join boundaries leads to artifacts on the faces (see image below).
Select the Polymesh menu item from the Tools menu. The following dialog appears:
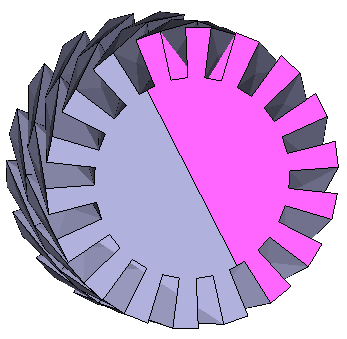
There are several ways to get rid of these artifacts. The point is to split the face into a subset of simpler faces. The most obvious thing to do is to split the face in two using two opposite vertices, although it doesn't immediately solve the problem.
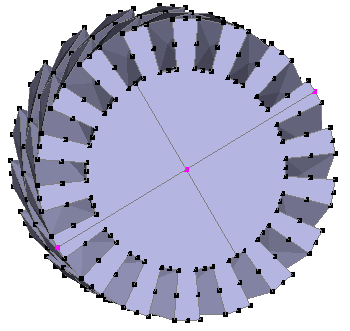
To split the face in four parts, let's divide the newly created edge in two. Selecting this vertex plus two opposite vertices allows to split the original inf four using the Connect command.
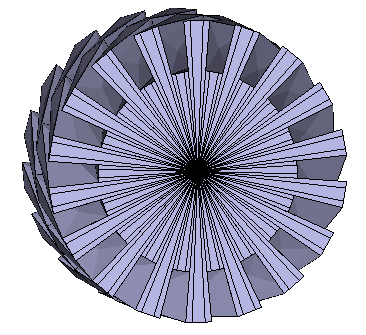
Given the symmetry of the face, however, there is a simpler way of getting rid of the artifacts. Select the face and then the Subdivide faces command from the Face menu.
Hopefully, artifacts occur only with complex and peculiar faces. For example, the same face is correctly triangulated if its edges aren't subdivided.


